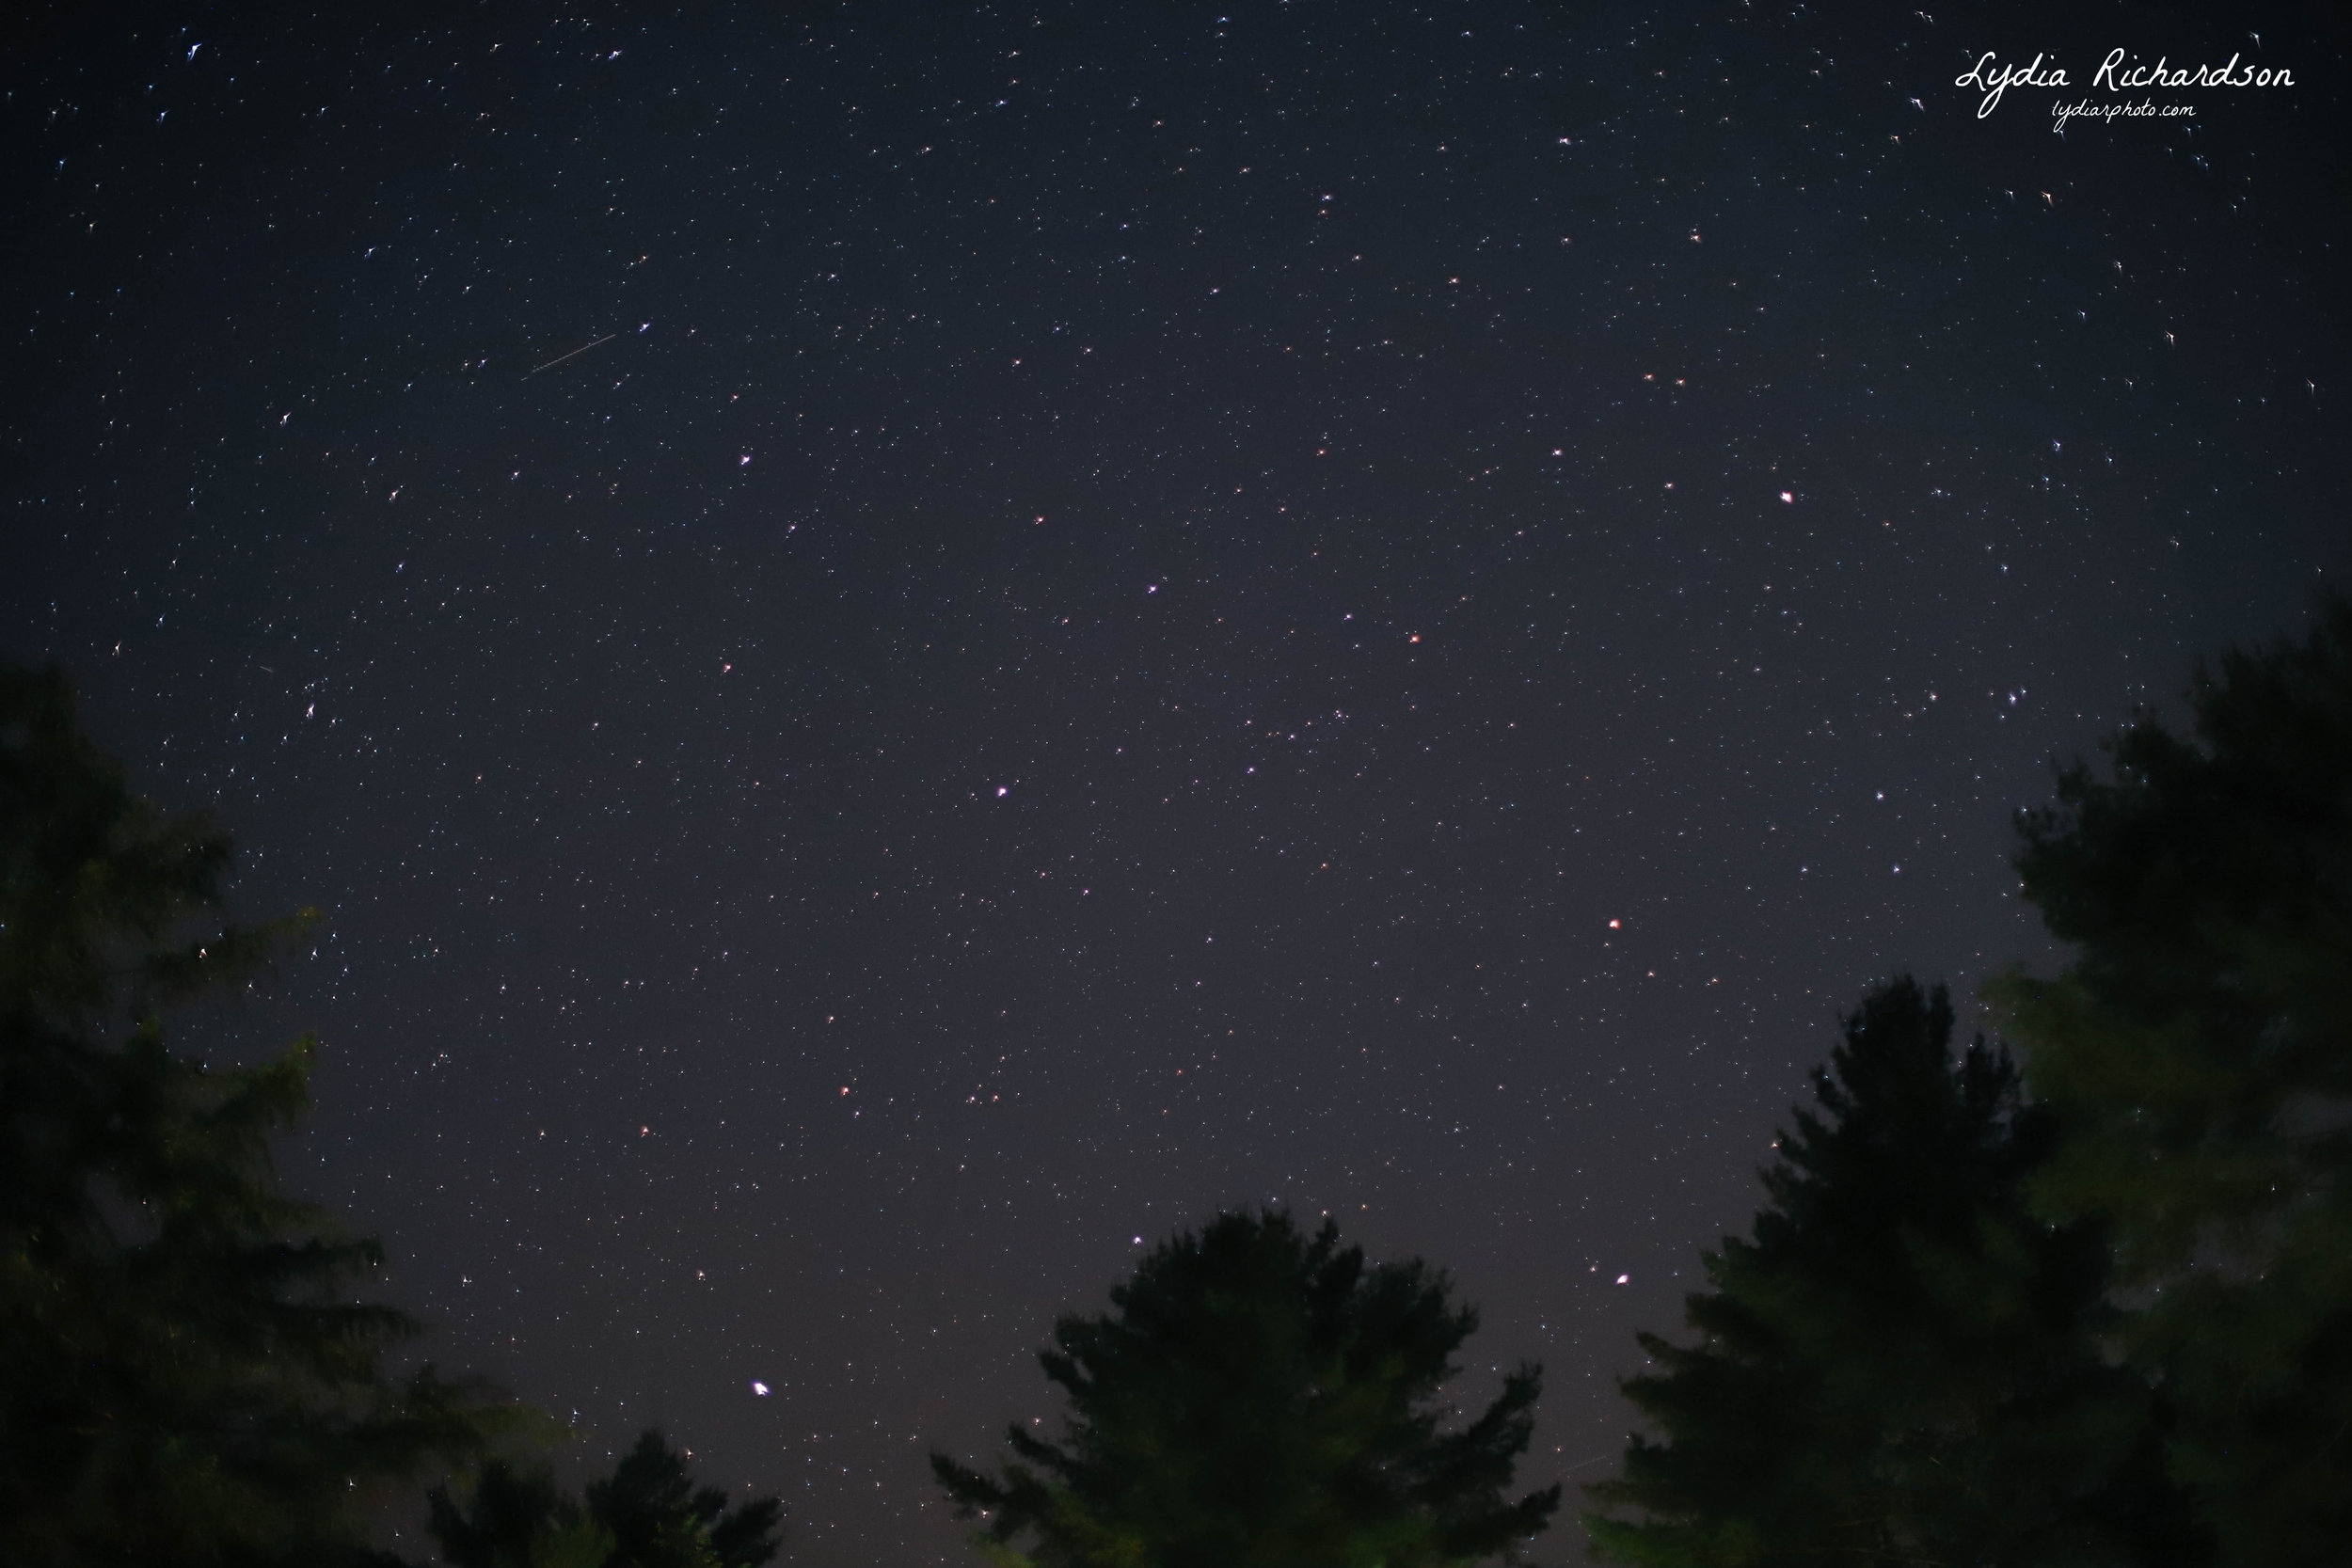
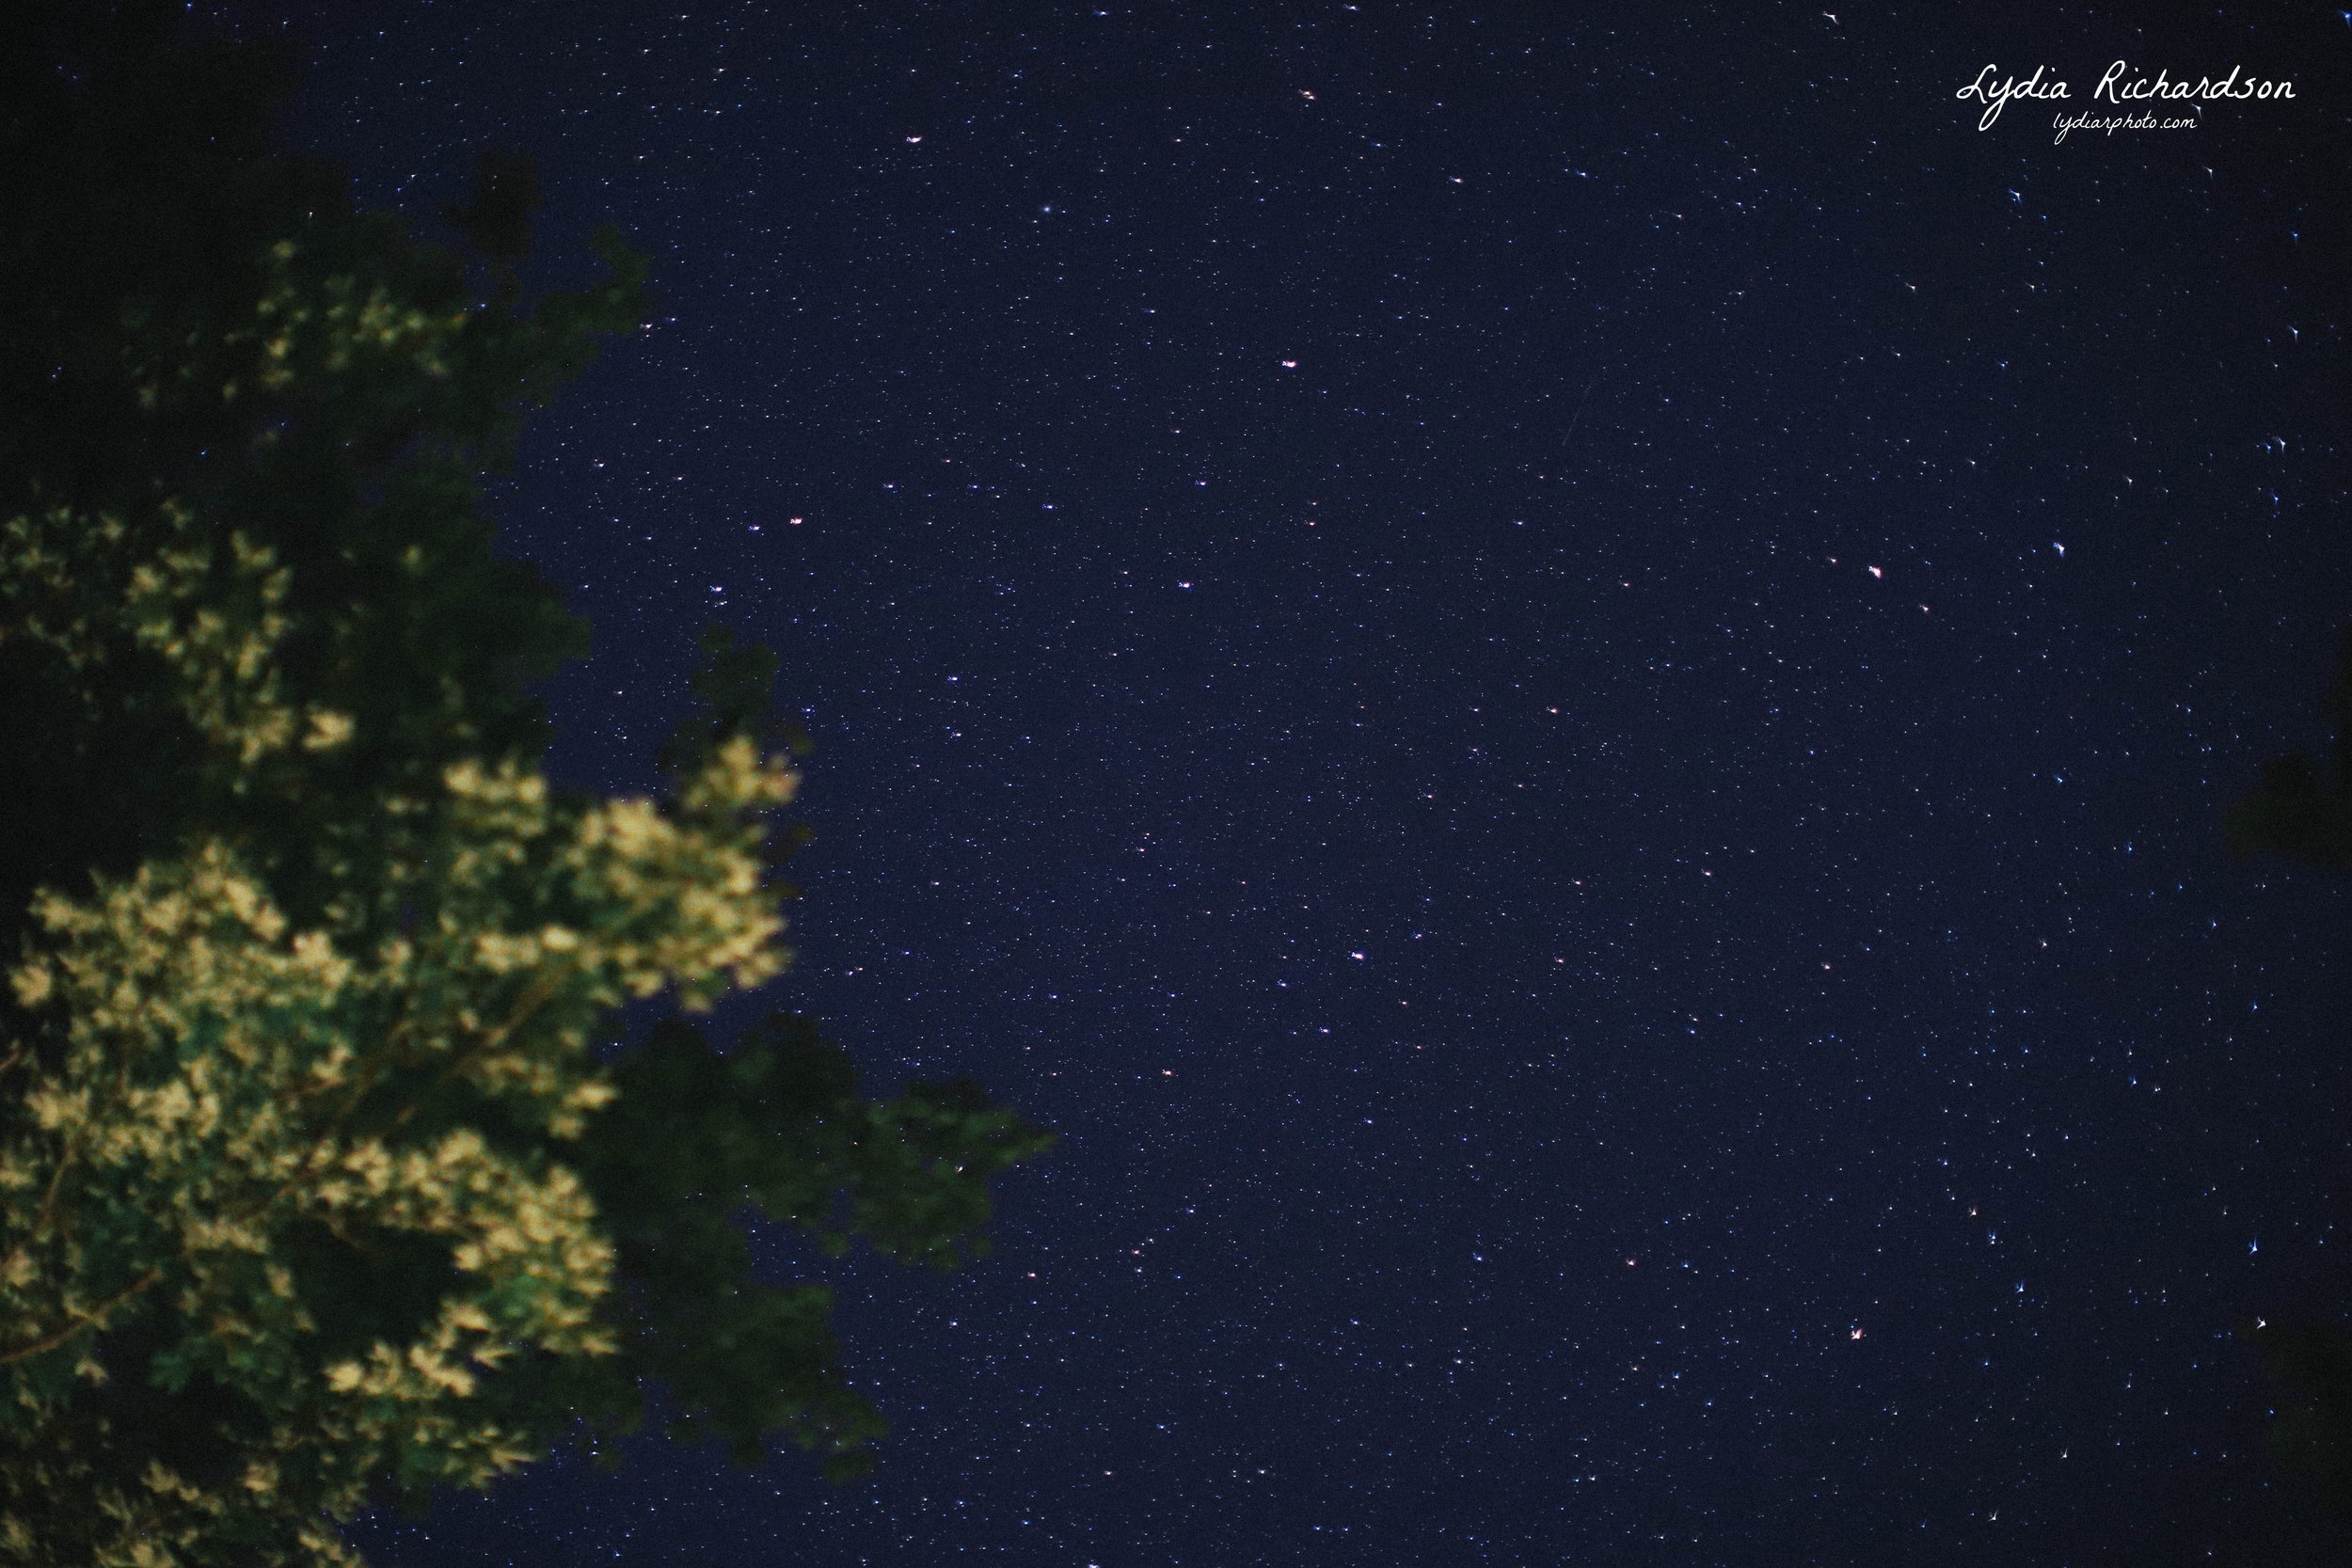
Astrophotography is something that I had always wanted to try but never had the equipment or ability to do so. (Or so I thought!) Since I have upgraded my camera, I now have a lens that is able to open as wide as an f1.2 aperture. What I realised as I was attempting to and researching how to take photos of the stars is that you don't need special gear to enable you to take these photos; all you need is the right camera settings. Although I still have much to learn about taking star photos, here are some of the things that have helped me so far!
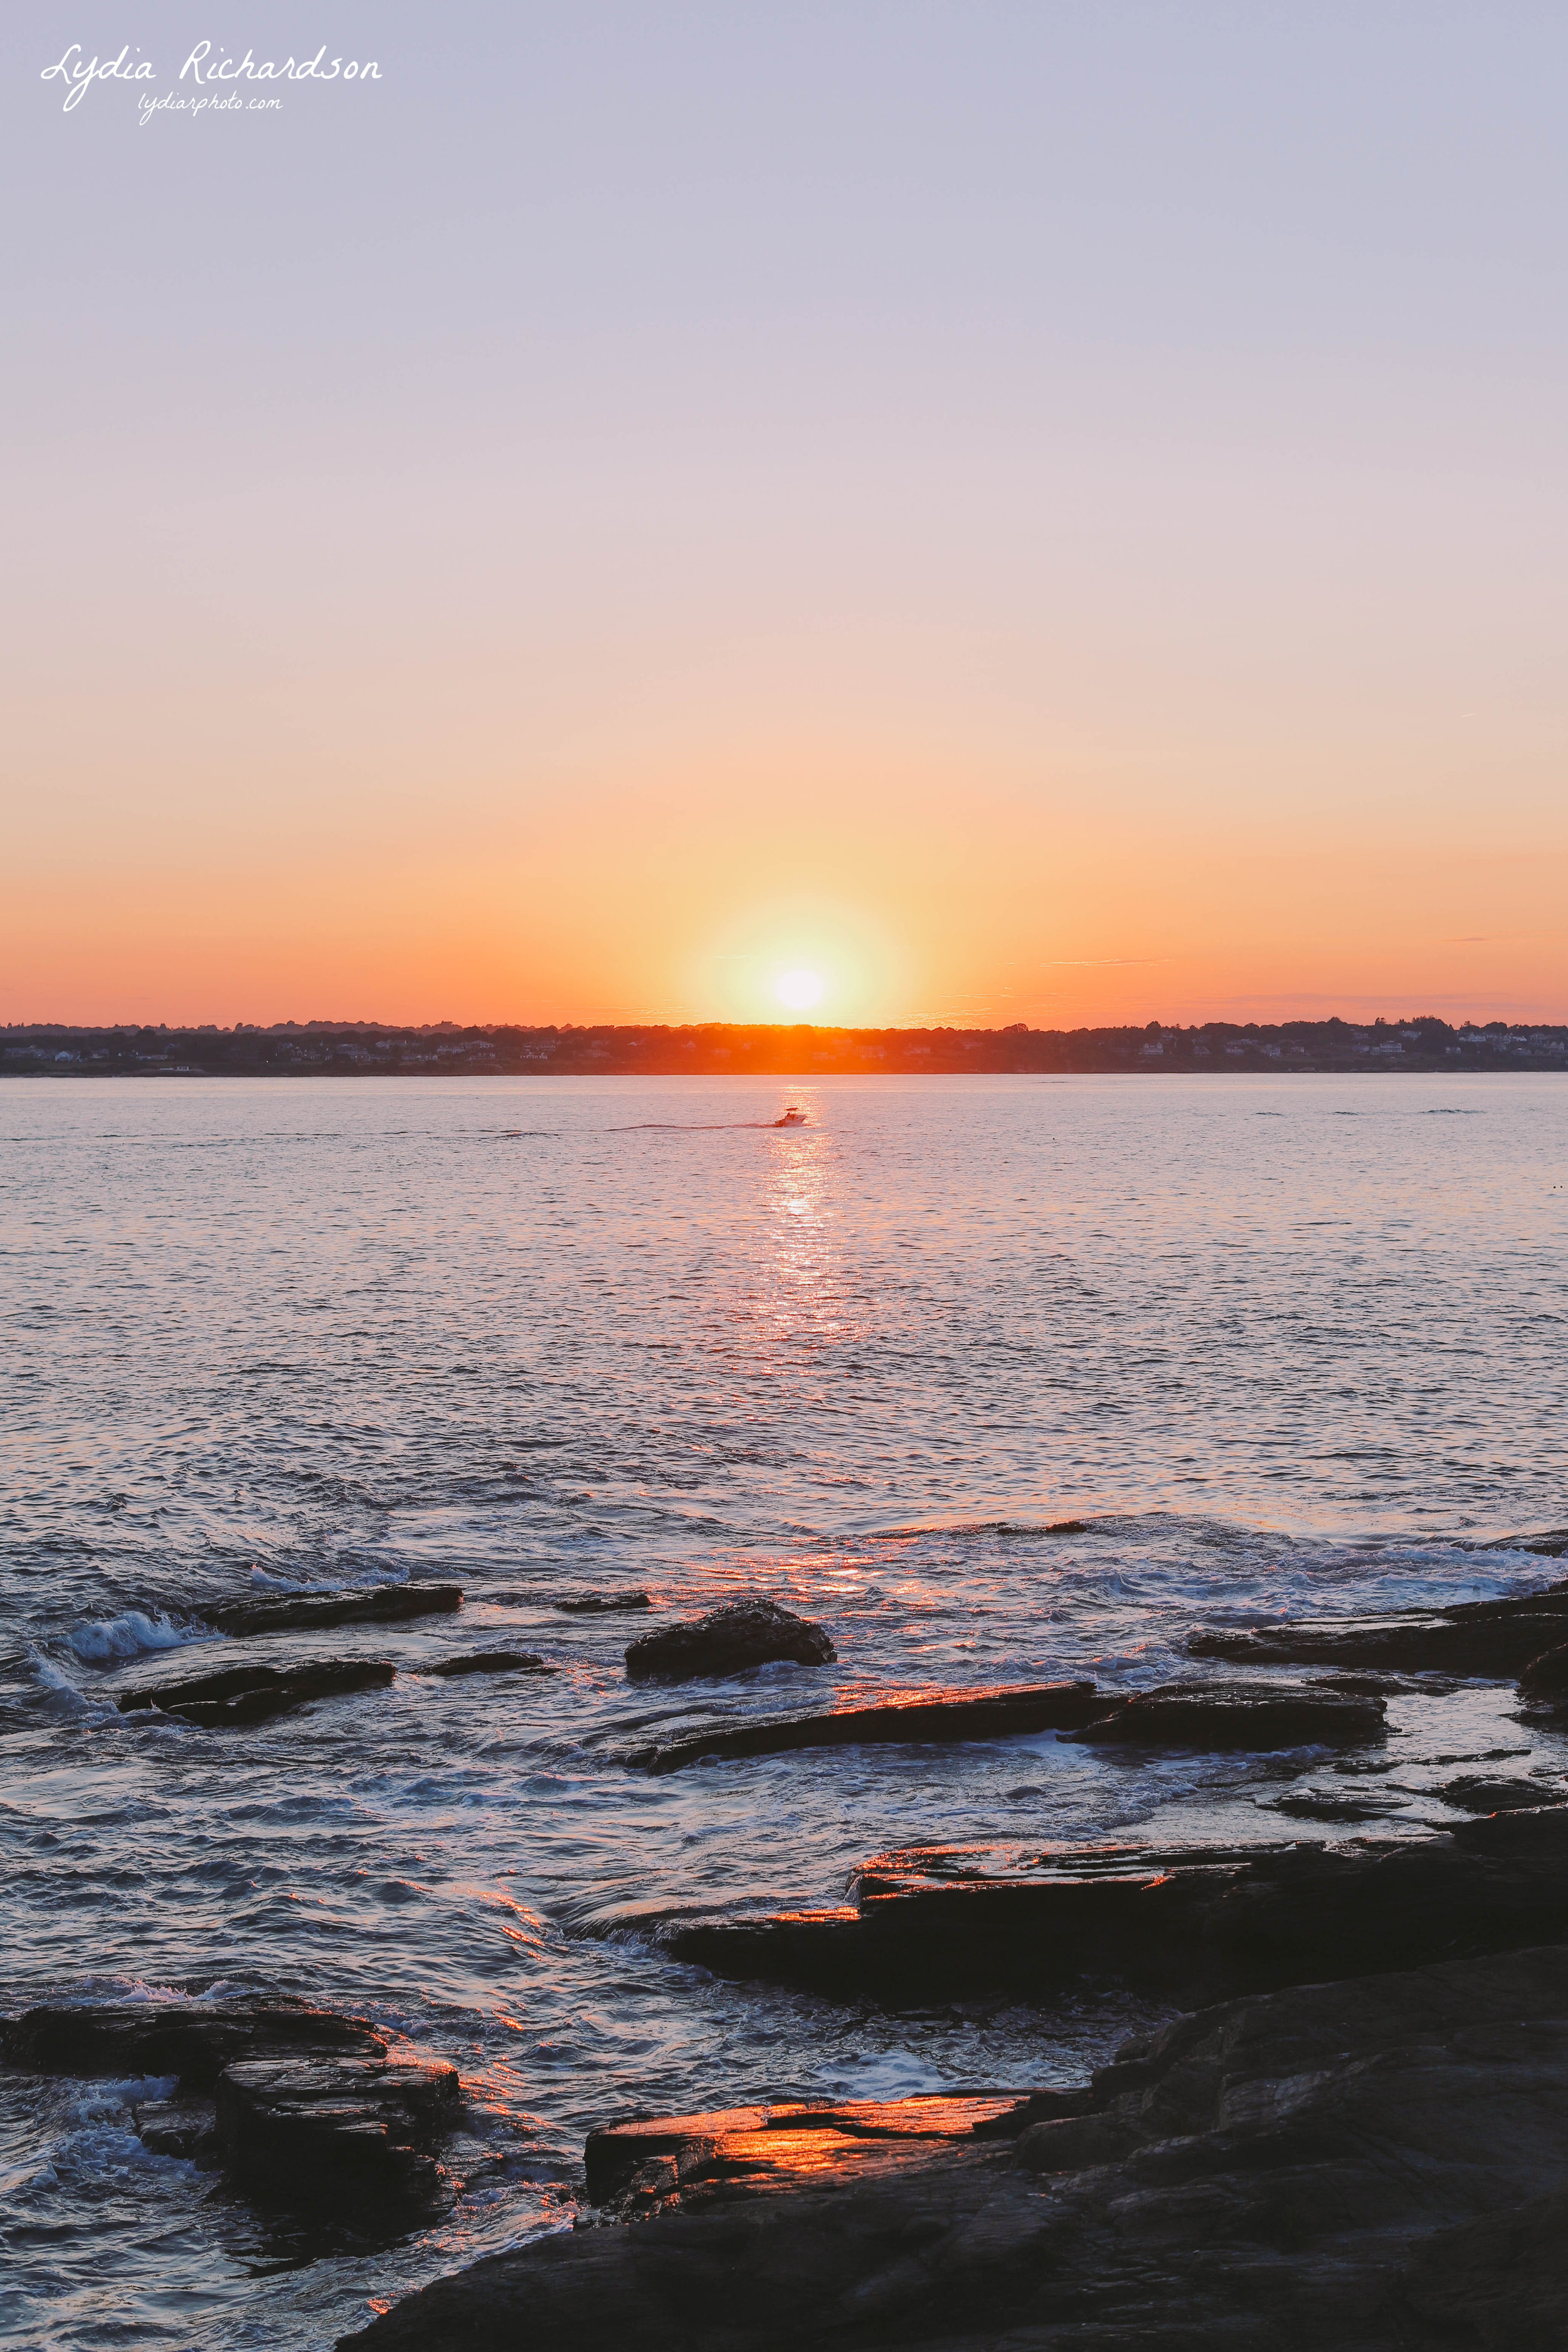
To take any photos of stars, you need a relatively clear or cloudless night and an area with little light pollution. If you can't see the stars, chances are that your camera won't be able to either. The only piece of equipment that is pretty much necessary for astrophotography is some kind of tripod - if your camera isn't completely still, you won't get a clear image of the sky and the movement will be evident in the photo.
The first and most important thing is to have your camera set to Manual mode and manual focus. I have learned the hard way to not put all of your trust into your camera's autofocus abilities - going home to edit your photos and finding that they are all out of focus is the worst! After having your tripod set up, focus your camera all the way to the Infinity marking or as far away as the focus seems to go. Then, make it a tiny bit closer or less than Infinity. I have found that putting my camera in Live View mode (switching from the viewfinder to the screen) better enables me to see where my camera is focused. You can also simply monitor the size of the dots of the stars as you change your focus, and set your focus at the point where the stars appear the smallest.
The next step is to explore your camera settings to figure out what combination of aperture, ISO, and shutterspeed will result in your desired photo effect.
For me, the easiest thing is to use a set aperture and work around it with the other settings. With the lens that I have, I set my aperture as low as it will go, and starting with an ISO of about 100-200, explore how different shutterspeeds affect the look of the photo.
Having a lower ISO will help you to keep the dark colour of the sky, and when you pair that with an extended shutterspeed, your camera will be able to pick up the stars. An easy way to determine the ISO you should have is to put your camera into Live View mode and change your ISO level until it is dark enough that you can only see the brightest stars on the screen with a normal shutter speed.
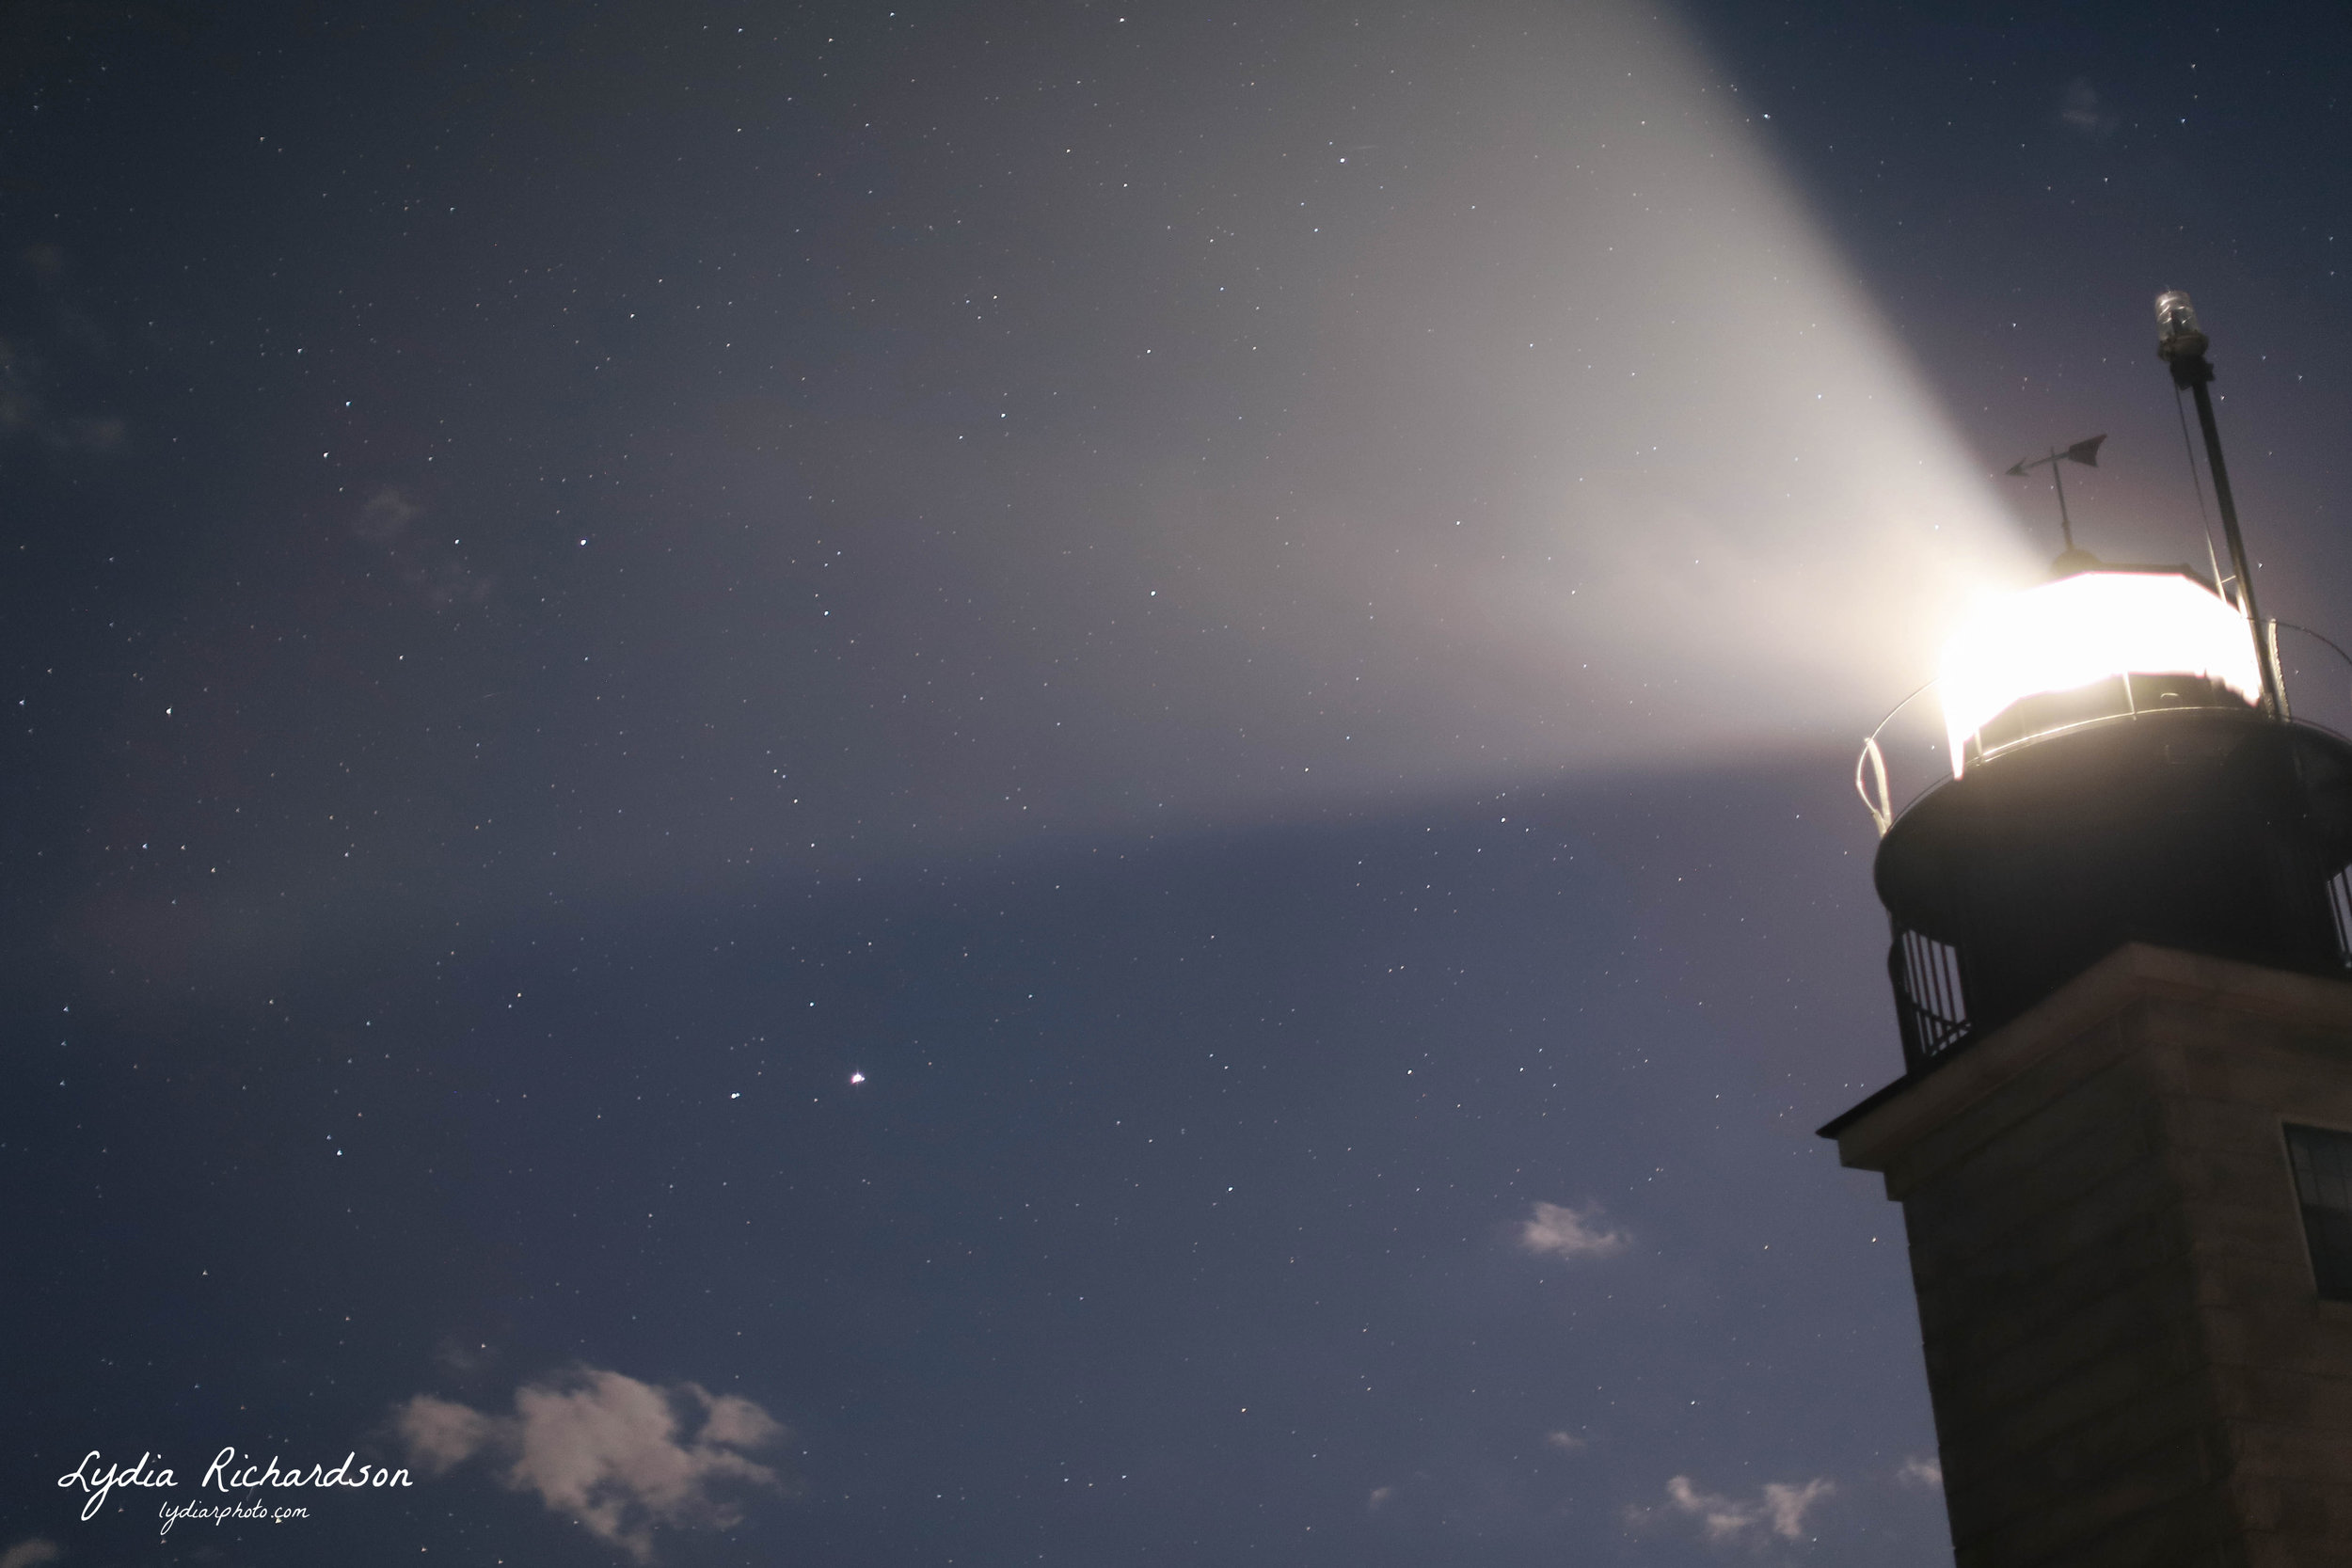
The longer that you make your shutterspeed, the more, smaller stars you will be able to see in your photo. For lenses with more standard apertures such as f2.8 and f5.6, a good shutterspeed range to explore is between 10-30 seconds depending on how many stars you want in the photo. If your photos still aren't bright enough after 30 seconds, you can either try raising your ISO or setting your camera to BULB shutter which allows you to hold the shutter open for as long as you want. If your lens can go wider than an aperture of 2.8, you can try using shutter speeds under 10 seconds depending on how much light you have.
One thing to remember is that anything in the foreground of the photo will give off and reflect light, any change in your settings will affect how the foreground appears too. Don't forget that with an extended shutterspeed, anything in the foreground (especially trees!) will be out of focus if there is any breeze or movement!
It took me 3 different nights and attempts to take the lighthouse star photos before I finally got the result I wanted. (Pictures below!) A successful picture of stars can be a difficult thing to achieve, but so long as you are determined and willing to take the time and sit outside while experimenting with settings and checking your results, you can absolutely do it!